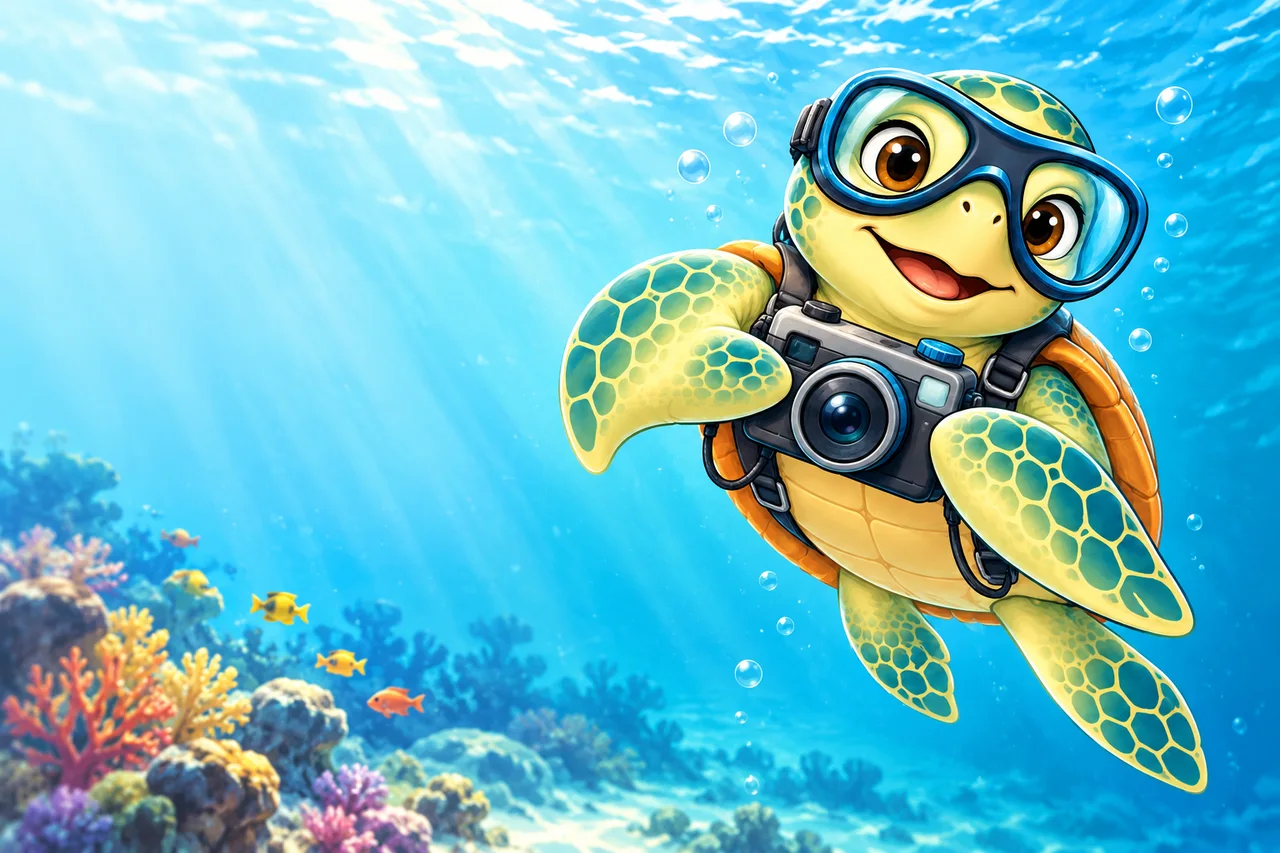
The camera increases task load and narrows attention. Good underwater photography starts with buoyancy, awareness and respect for the subject rather than proximity at any cost.
Australian sites include fragile temperate growth, aggregation animals and crowded shore entries where considerate behaviour materially improves the dive for everyone.
The photograph is one part of the dive
Position
Keep awareness of your body, gear and the surrounding habitat.
Subject
Avoid changing the animal’s behaviour or surroundings for the image.
Other divers
Share space and consider people waiting to observe.
Buddy
Keep the agreed communication and dive objectives in view.
Original YouDive visual discussion guide. Use the article and its sources for context; qualified review is pending.
Earn the shot with position
Approach slowly, stay off the substrate and let wildlife choose the distance. Use appropriate optics rather than chasing or cornering a subject.
- secure gauges and accessories
- use frog kick near sediment
- limit repeated flash on sensitive subjects
- do not stage or relocate wildlife
Share the subject
Take a short sequence, then move away so another diver can approach. Do not occupy a rare animal for the whole group dive or block a narrow route.
Brief the buddy relationship
Agree whether the dive is photography-led, who watches navigation and gas, and how the buddy gets the photographer's attention. A non-photographer is not an unpaid spotter by default.
Discuss the camera before the dive
Tell your buddy and the operator what kind of photography you hope to do and ask how that fits the planned activity. A normal guided dive, a dedicated workshop and a private photographic trip can have different expectations. Do not silently change the pace or route because a subject looks interesting.
If you are still developing the skills needed to manage the dive comfortably, discuss whether adding a camera is appropriate with your instructor. Photography introduces another task. Leaving the camera out of a particular dive can be a deliberate learning choice rather than a missed opportunity.
Give the group and the habitat room
Consider what your position and equipment mean for others as well as for the photograph. Avoid monopolising a subject or treating another diver’s presence as an obstacle to your image. Discuss how the group will share an observation and follow the guide’s arrangements.
An animal’s behaviour is not yours to stage. Do not touch, move, chase or crowd wildlife to create a composition. If obtaining the image would require contact with the environment or a departure from your plan, let the image go. The encounter can remain worthwhile without a photograph.
Carry the same honesty into the caption
Describe an image as an observation from a particular trip rather than a promise about what everyone will see. Keep uncertain species identifications visible and seek suitable help where needed. Consider whether a precise location could expose sensitive wildlife or encourage inappropriate access.
For an example, imagine two divers photographing a small animal. One gets a clear image; the other chooses to move on with the group. Both can have made sound choices. A trip report that values only the close-up misses the judgement involved in leaving space. Use your notes to remember the habitat and the shared experience, not only the successful frames.
If the frame requires touching the bottom, moving an animal or blocking another diver's exit, it is not the frame to take.
Common questions
Can I touch the reef to steady a camera?
No. Build stable buoyancy and use composition or equipment suited to the conditions without contacting living substrate.
Is flash harmful to marine life?
Effects vary by species and circumstance. Avoid repeated close firing, signs of disturbance and any operator or site restriction.
Should new divers carry cameras?
Only after basic buoyancy, gas awareness and buddy contact remain reliable with spare attention.